| September 2012 | Suwannee Amateur Radio Club Newsletter | Volume 4 |
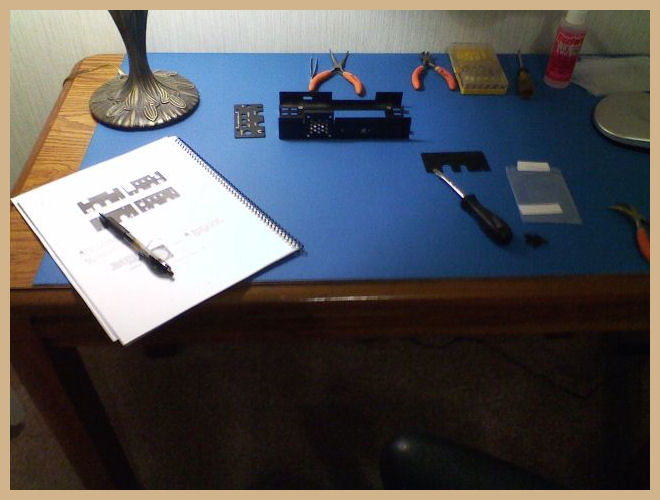
1) Get all the parts laid out and work on a surface with ESD protection (ESD wristband also required). 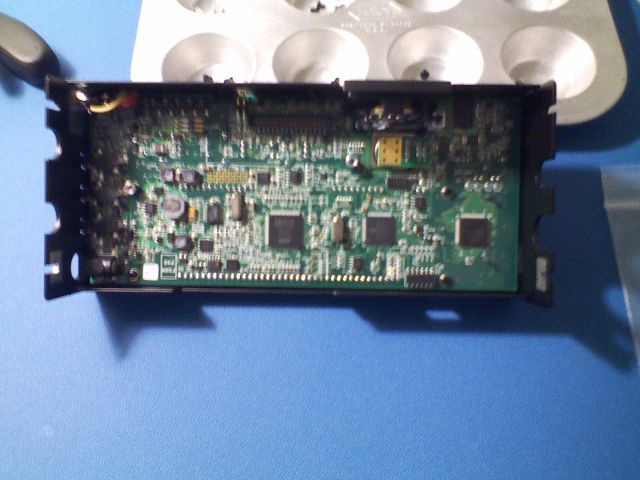
2) Install the Control Panel board, speaker (top right) and VFO (directly behind speaker) into front. 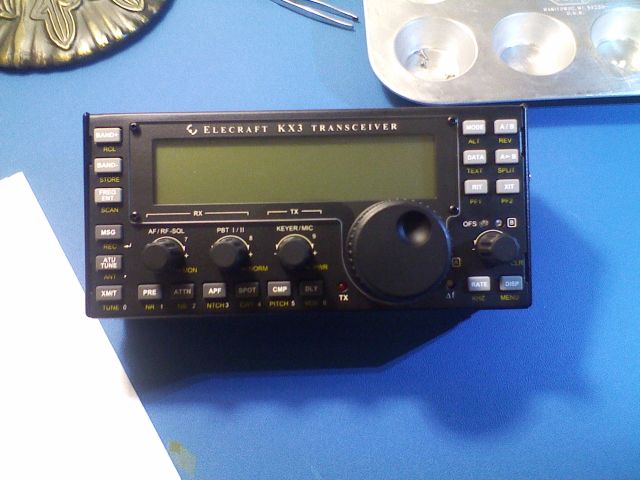
3) Install knobs and display bezel. 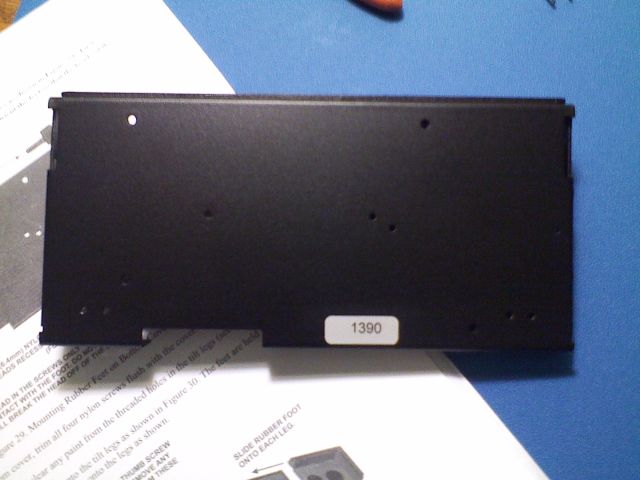
4) Install serial number and heat sink (top) on back. 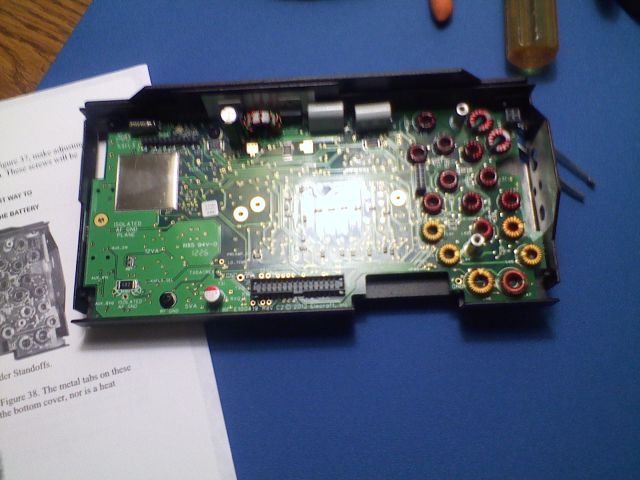
5) Install RF board (finals at top behind toroid). 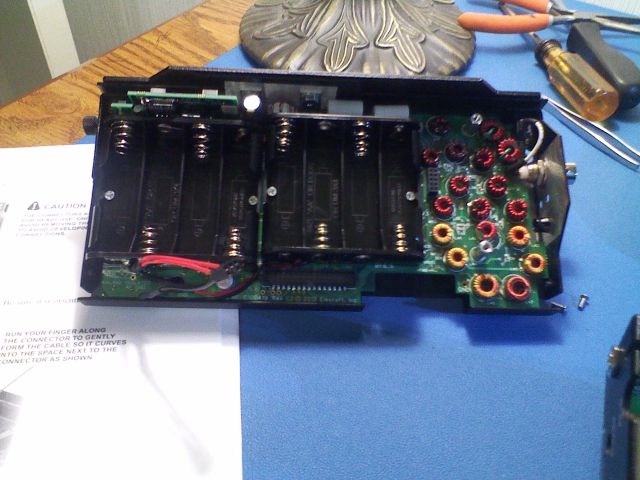
6) Install Battery Clips and optional Roofing Filters (top left). 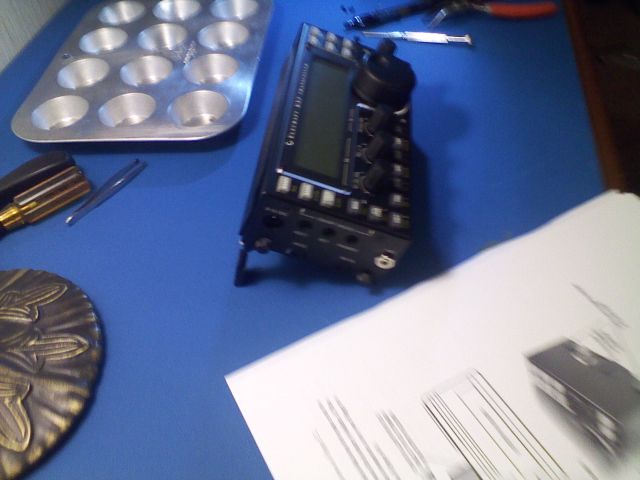
7) Install ribbon cable and put the two halves together..... 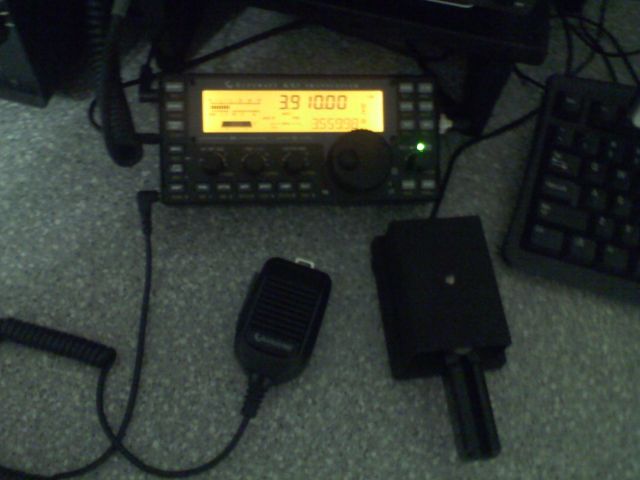
8) Turn it on and enjoy. I have already made several DX contacts using 3 watts. de Pat, WA4VKD
|
 The KX3 is a QRP (10 watts max) HF Tranceiver which offers state of the art receiver performance. It operates in AM/FM/SSB/CW modes and is
capable of PSK31/RTTY operation without connection to a computer. Sending is accomplished using the key and a small portion of the display is
dedicated to received text. It is also a Software Defined Radio allowing control by external computer with several applications (see HDSDR)
available on the web. Although Elecraft is planning a external 100 watt amplifier and internal 2 Meter module they are not available as yet.
The KX3 is a QRP (10 watts max) HF Tranceiver which offers state of the art receiver performance. It operates in AM/FM/SSB/CW modes and is
capable of PSK31/RTTY operation without connection to a computer. Sending is accomplished using the key and a small portion of the display is
dedicated to received text. It is also a Software Defined Radio allowing control by external computer with several applications (see HDSDR)
available on the web. Although Elecraft is planning a external 100 watt amplifier and internal 2 Meter module they are not available as yet.